Table of contents
How to Get Verified on OnlyFans
Step 1: Verify Your Email Address
Step 2: Fill Out Your OnlyFans Profile
Step 3: Verify Your Identity
Step 4: Take a Selfie
Step 5: Wait for Approval
Common Reasons for Verification Rejection
Troubleshooting Verification Issues
Reaching Out to OnlyFans Support
Wrapping Up
How to Get Verified on OnlyFans
Getting verified is one of the first difficulties you'll encounter as an OnlyFans Creator, and it's a must for any success on the platform.
OnlyFans has a pretty strict authentication process to provide a safe and secure environment for creators and subscribers. Let's go over why verification is important, what you should have ready, and how to get your application in successfully.
Nov 21, 2024
9 min read
173
Step 1: Verify Your Email Address

First things first, you're going to want to verify your email address on OnlyFans. You shall receive a confirmation email right into your inbox.
If you didn't receive the email, try resending it by using the "verify email" button. When you receive the email, click on the verification link inside it to move on to further steps.
Step 2: Fill Out Your OnlyFans Profile

Now, you will fill out your profile with a picture, personal information, and bank details. At this point, be sure to use your real, legal name and information since this is what will be used later for identification purposes. You can change your profile to show a stage name later if that is what you prefer to be called.
- Add your profile picture: Use a clear, recognizable photo of yourself.
- Personal information: Fill in your full name, date of birth, and other relevant details.
- Add bank details: Please go through the below steps to add your banking details for the payout.
To add your bank information:
- Open the menu on the left side of the screen.
- Select "Add Bank".
- Click "More".
- Enter your payment details, then proceed to verify.
Choose your country and agree to the terms and conditions to proceed with this step.
Step 3: Verify Your Identity
Now it's time to prove you are real. You'll need a mobile device with a camera to do this. On the computer, you can either have a verification link sent to you via text or scan a QR code. Don't worry; your identity information won't be shared publicly.
- Agree to terms: Once you have entered the verification system for OnlyFans, agree to their terms and conditions.
- Choose a government-issued ID: You will need a passport, ID card, or driver's license for verification. A passport is generally the easiest document to use.
- Upload both sides of your ID: Take clear photos of both sides of your ID, ensuring there is no glare and that the entire document is visible.
Fill out the info exactly as it is on your ID: Ensure everything is precisely as your ID.
Step 4: Take a Selfie

To complete your identity verification, you will take a selfie. Follow the instructions so that your selfie will be accepted.
- Plain background: Have a plain white background and proper lighting.
- No accessories: Remove any glasses, hats, or other objects that may be covering your face.
In addition to your selfie, you might need to provide additional information:
- Address: Enter your address, home in simple format.
- Social media links: Please ensure that your social media accounts are public so that we may verify.
- Selfie with ID: Take one final selfie holding the ID document to prove it's you.
Step 5: Wait for Approval
After you have uploaded your documents and completed all the steps required, you will need to wait for OnlyFans to verify your account. You should get an answer within 72 hours, although most probably, your approval will be confirmed within a day.
Common Reasons for Verification Rejection
In case your verification fails, the most likely reasons are as follows: Expired ID: Your ID needs to be up-to-date; if not, then the verification will not pass.
- Wrong file type: Photos must be in JPG or PNG format and no larger than 7MB.
- Photo issues: Rejected if photos are blurry, dark, or poorly lit.
- Erroneous data: Typos, misspelling, or omissions can be a cause for rejection.
- Policy violations: Your profile won't be verified if you upload fake documents or have violated OnlyFans' Community Guidelines.
Troubleshooting Verification Issues
If you encounter problems, try these troubleshooting tips:
- Turn off any VPNs: VPNs can cause verification problems.
- Check your authenticator app: Make sure you're using the latest code from your authenticator app. It creates new codes every 30 seconds.
- Reinstall the authenticator app: If the code isn't working, go ahead and reinstall the app, but beforehand, make sure to turn two-step verification off so you don't lock yourself out.
- Check the time and date on your device: A wrong time or date on your device may lead to issues with verification.
Reaching Out to OnlyFans Support
If you are having trouble verifying and it doesn't work, please contact OnlyFans support. Just email support@OnlyFans.com, and they will get back in about an hour. OnlyFans support can help guide you through the verification process and assist you in resolving any issues.
Wrapping Up
A very simple process, indeed: just verify your email address, fill out your profile, and finally, send in the identification documents required, and if your verification fails, it is most likely due to minor issues such as expired IDs, wrong file formats, or technical problems – everything can be fixed. By following the steps carefully, troubleshooting common problems, and reaching out to support when needed, you should be well on your way to getting verified and starting to enjoy all that OnlyFans has to offer.
Recommended from TopCreator
OnlyFans-Friendly Banking in the US – Simplified!
One of the biggest hurdles for creators on OnlyFans isn't just creating content, but dealing with banks that aren't so friendly to adult content. Let's dive into why that happens and how you can find a bank that works for you!
Oct 31, 2024
4 min read
162
1
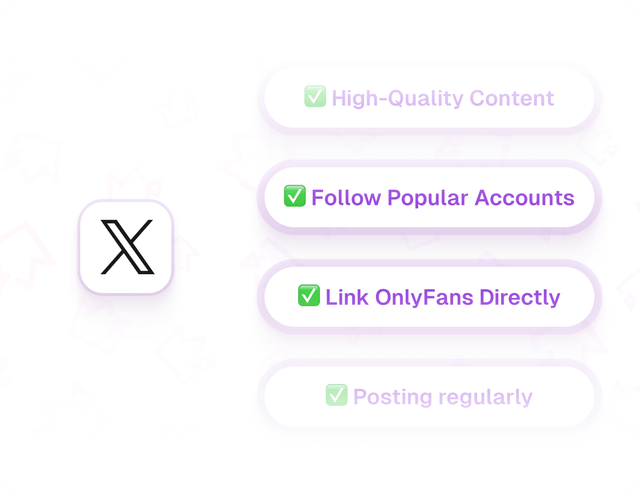
9 Fun Tips for Promoting Your OnlyFans on X (Formerly Twitter)
Do you want to get your OnlyFans noticed? Then you should definitely consider X (formerly Twitter)! It has a lot of users and is very friendly to marketing. Here’s how to gain a lot of attention; check these easy tips.
Oct 31, 2024
4 min read
158
0
Sexting 101: How to send the perfect sexy message on OnlyFans
If you've explored sites like OnlyFans, you're likely aware of the concept of sexting. It's quite common and many individuals engage in it.
Oct 31, 2024
8 min read
164
0
Launch your OnlyFans agency: Step-by-step guide
In recent years, the adult entertainment sector has undergone a significant transformation, allowing a growing number of individuals to monetize their passion for content creation. This change has largely been driven by OnlyFans, a platform recognized for granting power to Creators.
Oct 31, 2024
12 min read
157
0
Don't miss our new publications

